{  Tuesday Shoesday  }          {  Wedding Wednesday  }          {  Thursday Purseday  }          {  Fashion Friday  }          {  Details to Love  }  

Showing posts with label DIY. Show all posts

Thursday, November 17, 2011

DIY: Coupon Book for Our Paper Anniversary

Earlier this year, Sarah of Inconceivable Life had to alter her wedding plans, accommodating a venue change from San Francisco to Arizona. Sarah, like me, loves yesteryear ephemera and had collected a couple of sets of postcards showcasing San Francisco in the 1960s. When she began selling her San Francisco-themed wedding decor, I jumped at the chance to get my hands on the postcards. They would be perfect for my first anniversary present to cubes.


Somewhere on the Internet, I'd seen a series of photographs where people had taken either an earlier photo of themselves or their parents and then gone to the location in the photograph and taken a new photograph. With Sarah's postcards, I wanted to create a coupon book of dates that cubes and I could enjoy together. The catch? To redeem, we'd have to take a photograph that recreated the view in the postcard.

This project took about an afternoon to create. The hard part? Selecting which postcards to include and why. For our wedding, we'd used our favorite restaurants for table numbers. Each table number card had a filmstrip of photos - us or food from the restaurant - and a story about why we chose the particular restaurant. I wanted to carry this show and tell theme on with my gift.

With the exception of Sarah's postcards, all of the other supplies came from our wedding. Left over paper from our programs. Photo corners from our guest book. Raffia from our favors. Paper glues from our table numbers. (When purchasing for our wedding DIY projects, I over-purchased everything for fear of running out in the eleventh hour.)
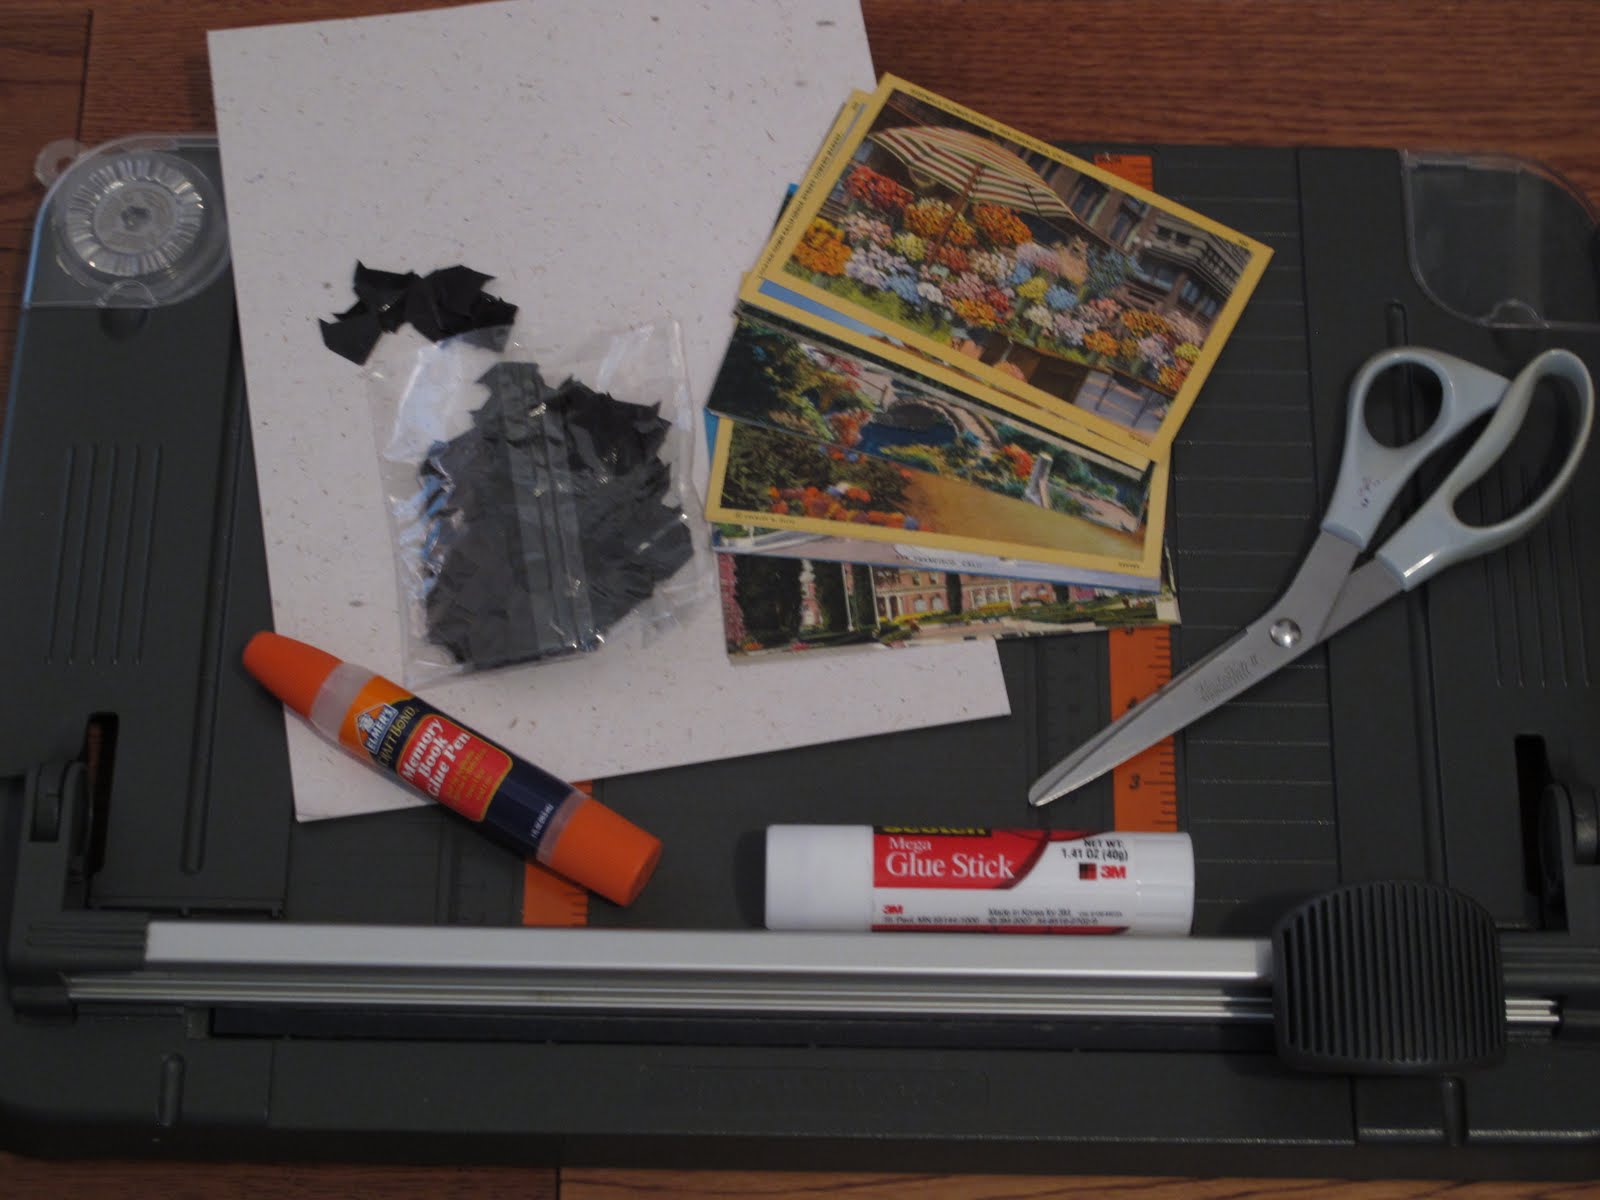
Assembly was pretty easy once I chose the thirteen postcards. I took 27 sheets of paper and cut them in half.

The cover was the only "tricky" part. By tricky, I mean that it wasn't a simple half sheet of 8.5 x 11 paper. I wanted a wrap around binding. To achieve this look I cut a piece of paper 9.75 inches to give me an inch wrap on the cover and a .25 inch "spine." I then lined up all the pieces of paper, and secured them with a binder clip.

I punched two holes in the binding, threaded the raffia, and tied a bow. To determine the location of the photo corners for securing the postcards, I placed a postcard on a page and made two marks with a pencil. I then placed the photo corners over the marks. Voila! A handmade custom album.


Here's are some of the coupons I presented to cubes.
Every holiday season, we used to go down to Union Square to see the store windows. After looking at the windows, we'd stop at Macy's and pick up an ornament.
The girls and I started the hunt for bridesmaids' dresses with drinks on the patio at the Cheesecake Factory. We started our hunt for supersoft towels and sheets at the Burger Bar overlooking Union Square.
This coupon is good for drinks with our wedding party.

Once a month we'd get hamburgers and chips from a burger joint on Geary and then drive out to Ocean Beach to watch the sun set. Sometimes we'd sit on a bench overlooking seal rock. This coupon good for a sunset dinner.

One of my favorite places growing up was the California Academy of Sciences. I took classes at the Junior Academy where I learned photography. I got to go behind the scenes at the aquarium. This coupon is good for either a morning or afternoon at the aquarium and a lunch in The Moss Room.

For being a person who enjoys romantic gestures, redeem this coupon for surprise flowers in the month of your choice.

What did you do for your first anniversary? For newlyweds, what are you planning?

Ciao Bella!
Eden
 
Credits: All images taken by Eden Hensley Silverstein for A Timeless Affair.

Thursday, June 2, 2011

Tips: Getting Your Purse Organized

Ever spill the contents of your purse? Annoying isn't it? In my purse I try to keep such disasters minimized with zippered pouches.

Detail

Most purses don't have enough pockets to hold lipsticks, coins, pens and paper. Worse the entire bag has a fold over top that doesn't latch securely. Ever since middle school I've put small items into coordinating zippered pouches. My mom made most of mine - choosing fabrics that coordinated with my satchels. Over time, they've worn out; the last of these had holes where the bleached denim had worn through.

Besides reducing the amount of items I need to pick up if my purse spills and making it easy for me to find what I need in the depths of my purse, the pouches make it easy for me to switch out purses from day to night.

I've chosen sizes that fit in the majority of my purses. I've also organized items so that the essentials always fit. Before choosing your pouches, be sure to measure the length of your longest item and the width of your biggest item.

Right now I have four zippered pouches:
  1. The smallest pouch which goes with me everywhere contains lipsticks, glosses, bobby pins, elastic bands, barrettes, and mini-emory boards.
  2. The next pouch almost goes with me everywhere. It's my survival kit for clothing mishaps and includes a sewing kit, double-side tape, Tide pen, and other necessities (it's the pouch with the spools of thread design).
  3. The third pouch is usually just with me for work. It's got post-Its, a small pad of paper, a couple of pens, and a measuring tape.
  4. The final pouch is my touch up bag. It's got hand sanitizer, travel-sized hairspray, foundation, mascara, and a mirror. 
I purchased my zippered pouches from mmmily, she has a bunch of different sizes and has fabrics that coordinate well.

If you're crafty and have the time, you can find fabrics you like and make your own. Here are a couple of tutorials that I found:
What's your secret for keeping your purse organized?

Ciao Bella!
Eden
 
Credits: All images taken by Eden Hensley Silverstein for A Timeless Affair.

Wednesday, April 27, 2011

Tips: Choosing (or Not Choosing) a DIY Wedding

Our Living Room

There are many ways a couple can have a Do-It-Yourself (DIY) wedding. The choice can be intentional (this is best) or accidental. For example:
  1. You actively choose a DIY wedding because you're crafty or because you have connections.
  2. You actively choose a DIY wedding because you have friends who are crafty (or have connections) and are masters of delegation.
  3. You subconsciously choose a DIY wedding because you want your wedding to be blogworthy and you know you can do better than what's been done before.
  4. You accidentally choose a DIY wedding because you have more time (or skills) than money and your wants exceed your pocketbook's ability to deliver.
  5. You accidentally choose a DIY wedding because the vendor(s) you need isn't in your area or doesn't yet exist. 
  6. You actively choose a DIY wedding because you want to save money.
Early in our planning, I came across DIY Reality Check (PDF) from Rachel of Heart of Light via her guest post on 100 Layer Cake. Print it out and use it! It really helped me stay sane. I printed out two copies. One I posted at my office. The other I tucked into the front of our wedding binder. I worked through the steps religiously. A few projects that were changed or abandoned completely after traversing the DIY Reality Check: our guest book, belly bands for our programs, and train cases filled with vintage cookbooks coordinated to each table's theme.

My Sewing Nook

If you're in either early- or mid- planning stages of your wedding, before going farther, really dig into what you can expect with a DIY wedding. First ask friends who have gotten married (and who will honestly tell you about the trials and tribulations). We decided to hire a wedding coordinator after seeing firsthand what can happen (at a wedding in a public park, a stranger stole the bride's bouquet) and having a friend who knows me recommend it as a must have item.

Don't have any friends who went the DIY route? Visit a couple of tell it like it is "real" brides now wives: Becca of A Los Angeles Love (read her post from Monday, The Hell of a DIY Wedding is in the Logistics, Not the Crafts) and Britt of The Bowie Bride. Also, check out Sarah of My San Francisco Wedding (currently planning her October wedding). I've linked to the beginning of their stories - start there, don't skip to the end. Seriously, devote an evening or a weekend and read through their stories, the highs and the lows. If you're strapped for time, to get a rough idea of what the DIY bride goes through, check out Miss Biscuit's post yesterday on Weddingbee, "The Five Stages of DIY Grief." (Yes, I know, I have a bad case of the wedding bug.)

Another fun resource is "Should I Work for Free" (with expletives or without) designed by Jessica Hische spotted on Swiss Miss. Basically if you're choosing a DIY Wedding and you plan/execute events, design, or write for a living and you're using those skills for your (or a friend's) wedding you're working for free.

I'd started and stopped a post about all of our DIY stops and starts a couple of times since October. I've also started and stopped a post about the DIY costs that were wedding-related but were shelved or abandoned. It's hard to come clean about what you'd envisioned, what projects weren't perfect, what projects you'd started only to abandon, and what projects never got started. To write such a post is hard, especially when you're a perfectionist, especially when you plan and execute events for a living and when everyone - including your rabbi - jokes that you never met a detail you didn't like (no detail left behind... um well we no I left a few more than a few behind). I will finish writing these posts soon; I owe it to other DIY brides.

Our Living Room

In the meantime, enjoy what a DIY wedding looks like post wedding (sorry mom!). Here it is over six months since our wedding and our apartment while no longer screaming wedding (The Lingering No One Warns You About), still squeaks wedding. (These photos are what our apartment looks like at the moment.) We've got two printers side-by-side on our living room floor (trust me on this if you're printing your own save the dates, invitations, programs, whatever, one printer is never enough), a box full of inserts for foam pillows, a tumbled pile of tablecloths, neatly folded (and laundered) tablecloths, a box of silk flower heads from our table centerpieces, a box full of supplies for our wedding favors, a box full of halfway done out-of-town bags, and more. (Let's forget that our garage is a mishmash of gear from Burning Man topped with a wedding explosion - bottled water leftover from the wedding, boxes filled with table runners and signage, and more.)

Anyone have any tips for how to get rid of the DIY Wedding debris?

Ciao Bella!
Eden

P.S. If you're new to our blog and want to read our story (that is before I finish moving it here) you can visit our original blog and start from the beginning or skip around.

Credits: All images taken by Eden Hensley Silverstein for A Timeless Affair.
Related Posts Plugin for WordPress, Blogger...